没有安装,从某技术网盘拿到的,因此没有截图
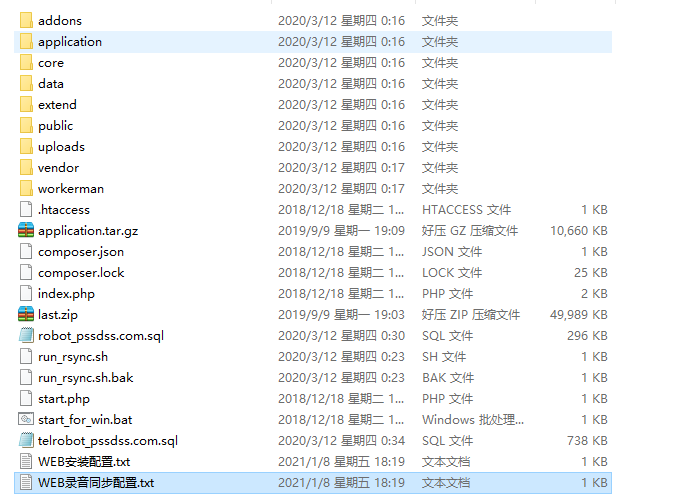
从某技术网盘拿到的,因此没有截图,东西比较完整
安装教程
创建web站点
4、导入数据库telrobot.sql.gz
5、修改数据库配置
/www/wwwroot/telrobot/application/dabase.php
6、修改config.php
/www/wwwroot/telrobot/application/config.php
‘db_config1’ => [
// 数据库类型
‘type’ => ‘mysql’,
‘debug’ => true,
// 服务器地址
‘hostname’ => ‘ip’,
// 数据库名
‘database’ => ‘autodialer’,
// 数据库用户名
‘username’ => ‘mytel’,
// 数据库密码
‘password’ => ‘7ygv*IK<‘,
// 数据库编码默认采用utf8
‘charset’ => ‘utf8’,
// 数据库表前缀
‘prefix’ => ”,
],
‘res_url’=>’http://web的ip/’,
‘record_audio_url’=>’http://FS服务器IP/’,
‘destination_extension’=>’1800001’,
‘notify_url’=>’http://WEB的IP/api/smartivr/unusualNotify’,
‘smartivr_api_path’=>”,
//{execute_on_media=start_da2}
‘start_da2’=>”,
‘audio_root_path’=>”,
‘mute_wav’=>’/var/smartivr/sounddir/mute.wav’
录音文件同步 教程
1、将run_rsync.sh中的ip换成FS服务器的IP,如果 WEB和FS在同一个区可以使用内网IP
2、将脚本移动到/etc/rc.d/init.d目录下
cp /www/wwwroot/telrobot/run_rsync.sh /etc/rc.d/init.d
3、增加脚本的可执行权限
chmod +x /etc/rc.d/init.d/run_rsync.sh
4、添加脚本到开机自动启动项目中
cd /etc/rc.d/init.d
chkconfig –add run_rsync.sh
chkconfig run_rsync.sh on
5、使用ssh创建密钥的方法
ssh-keygen
将源服务器上/root/.ssh/id_rsa.pub 复制到FS服务器/root/.ssh/authorized_keys


评论0